Introduction
There are many sources of information on howto install Debian on a Beagle Bone Black. This document describes the specific steps that were used to complete a successful install using only a serial console (no display).
Requirements
The following components were used to complete the install. Other versions may work as well.
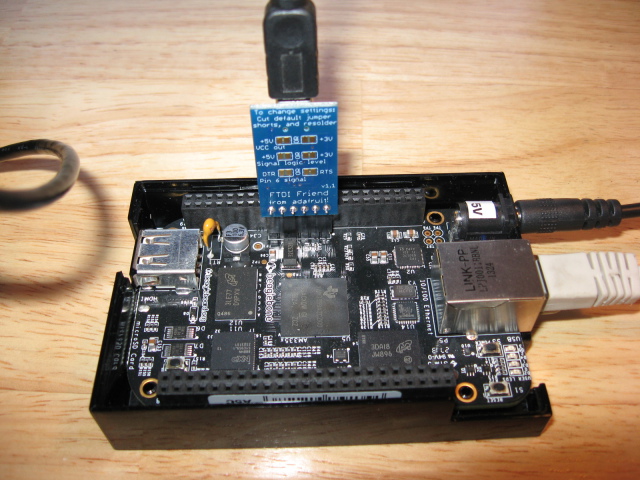
| Beagle Bone Black, Rev A5A |
| FTDI Friend |
| 5V power supply |
| USB Type A to Mini-B cable |
| 8 GB microSD flash card |
| microSD flash card to usb adapter |
Boot Image Preparation
The first step is to prepare the boot image on the microSD flash card. Here a netinstall image created by Robert Nelson will be used. It includes a script that takes care of all the image preparation and downloading steps.
$ git clone git://github.com/RobertCNelson/netinstall.git
$ cd netinstall/
To prepare the image and write it to the flash card the following command is run. Note, here it is assumed that the flash card is located at /dev/sdb. Also, the *-serial image is chosen because the FTDI Friend serial interface is being used.
$ sudo ./mk_mmc.sh --mmc /dev/sdb --dtb am335x-bone-serial --distro wheezy-armhf
If all went will the image should be created and ready to use. Remove it from the host computer and install it in to the Beagle Bone Black.
Debian Installation
This installation will be performed using a serial console. The connection with the FTDI Helper is shown below.
To start the serial console run the screen command.
$ screen /dev/ttyUSB0 115200 8N1
With the 5V power supply connected the power button can be pressed to reset the board. Lots of output should be seen on the console as it boots up. The first screen of the install process should be the language selection screen as shown below.
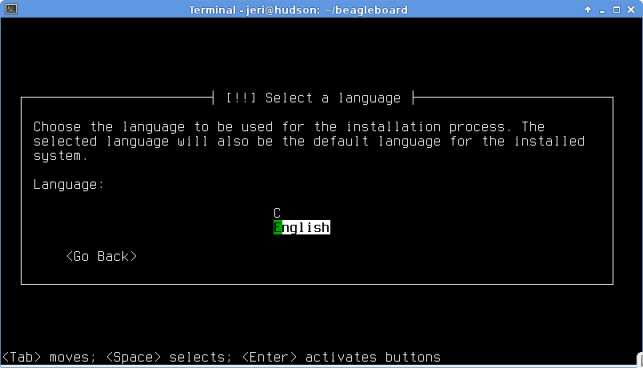
From here the usual Debian install steps are performed. And if all goes well it should reboot in to the new system.